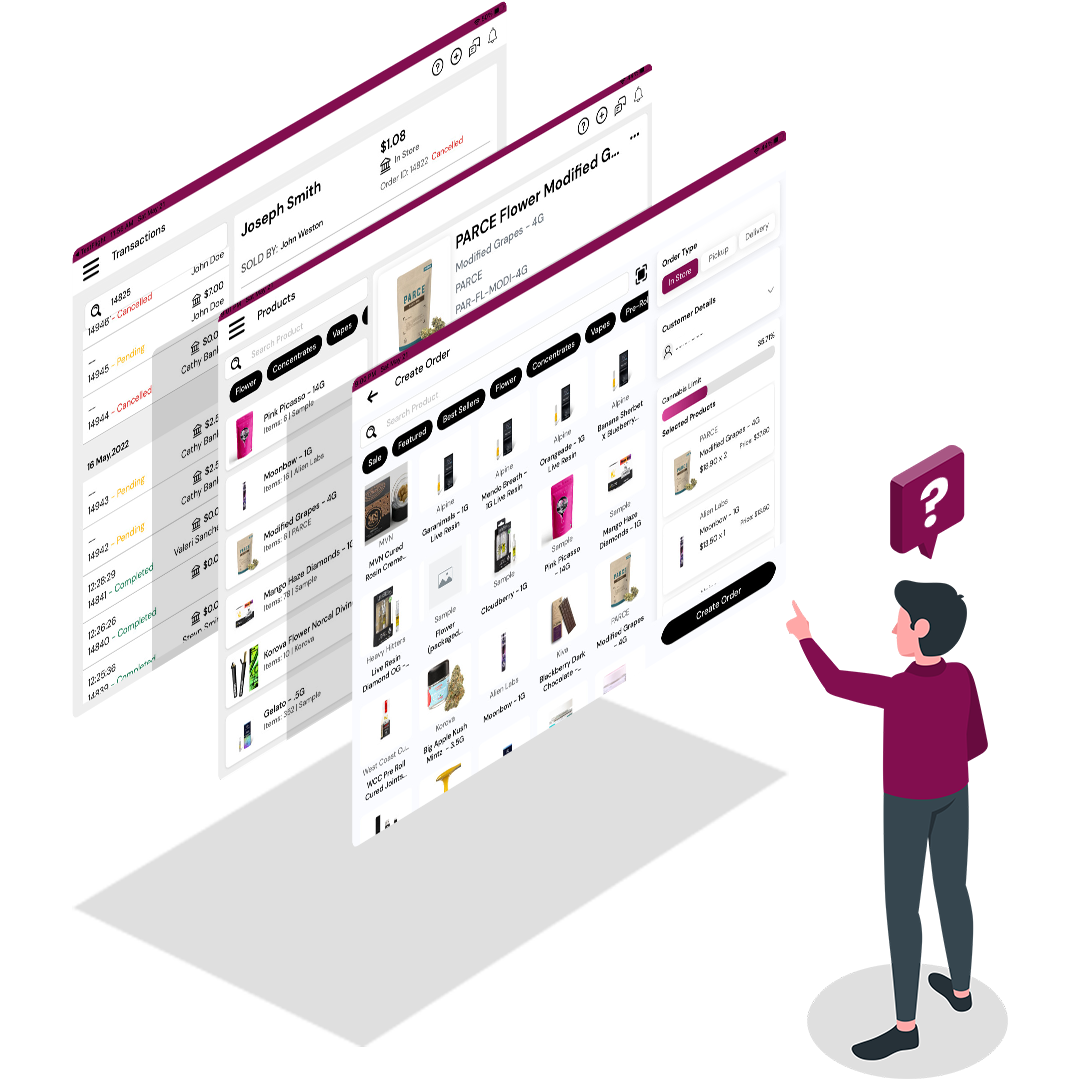
VENDE POS ONBOARDING
What's Needed Before I Can Use this POS?
Trust us when we say, “We wish you can just hit the ground running and start making a lot of sales!” … Unfortunately, this is not possible. In order to start processing sales in the tablet POS, you will have needed to complete all the Getting Started steps that you saw when you first created your account on Vende.
- Added Metrc Key to Employee Profiles
- Created Product Profiles
- Assigned Metrc Packages to Product Profiles
- Created a Customer
- Go through all Tablet Support Articles: Vende POS
If you have already completed these key points, please skip this slide.

Process An Order:
The most important task anyone can do on a point of sale - process a customer order.
- Click the + sign in top right corner, or click on the Create Order button in Dashboard.
- Select a Customer from your customer list, or Add a customer by Scanning the customer ID or filling out the Create Customer form.
- Select which items they want. Remember: You need to have already created product profiles and assigned Metrc packages to them to select.
- To adjust the product details, simply click on the product. If the order is a Pickup or Delivery Order, the order will not be completed until the order has been Picked Up, or the assigned Driver completes the order via Vende Crew App.
- Enter the amount received and you are done!
Order Status’s:
Keep track of what is happening with your orders from one page.
- Click the menu icon in the top left corner and select Orders.
- Requested: All orders that you have received via ecommerce, third party services. You need to pack these orders and get them ready for pickup or delivery.
- Pending: All orders that have not yet been accepted by a coworker.
- Ready for Pickup: Orders that are staged and ready for customer pickup.
- In Route: Orders that the driver has accepted, but not yet delivered.
- Click on cards to view and edit the order via transaction area.
Customers:
Add, view, and create actions for your customers.
- View and search all your customers.
- To add a customer, select the + sign and scan the customer ID. If you don’t have ID, you can manually enter the customer information.
- Slide customer card left to Create Order, Add to Queue, Edit, and Delete.
- Use the Action icon to perform all necessary actions for customers as well as block customers.
Transactions:
See all your transactions and decide what may need to be done from here.
- Search orders with ease.
- See the order status from a birds eye view.
- If action is needed, select the transaction and do everything from canceling the order to issuing a refund after the order has been completed.

Click Around and Have Fun:
There are tons of features that if utilized, make you business run much smoother and promote a great company culture. Click around, have fun, and just know - we are always here to help.